Creating a WordPress website locally can be a convenient and effective way to develop, test, and improve your website before making it live on the internet. It comes with many benefits and I will just mention a few
- When you create a WordPress website locally, you can test changes, such as adding new plugins, themes, or custom code, before making them live on the internet. This way, you can ensure that your website is working correctly and there are no compatibility issues before making changes visible to your audience.
- Developing a WordPress website locally means that you don’t need an internet connection to work on your website. This can be useful if you have limited or no internet access, and you need to work on your website.
- A locally hosted WordPress website is generally faster than a website hosted on the internet because the website data doesn’t have to travel through the internet to reach the user’s browser. This can be especially useful during the development phase when you need to test different changes on your website.
In this article , i will take you through a step by step guide on how to develop your WordPress on your local machine using XAMPP
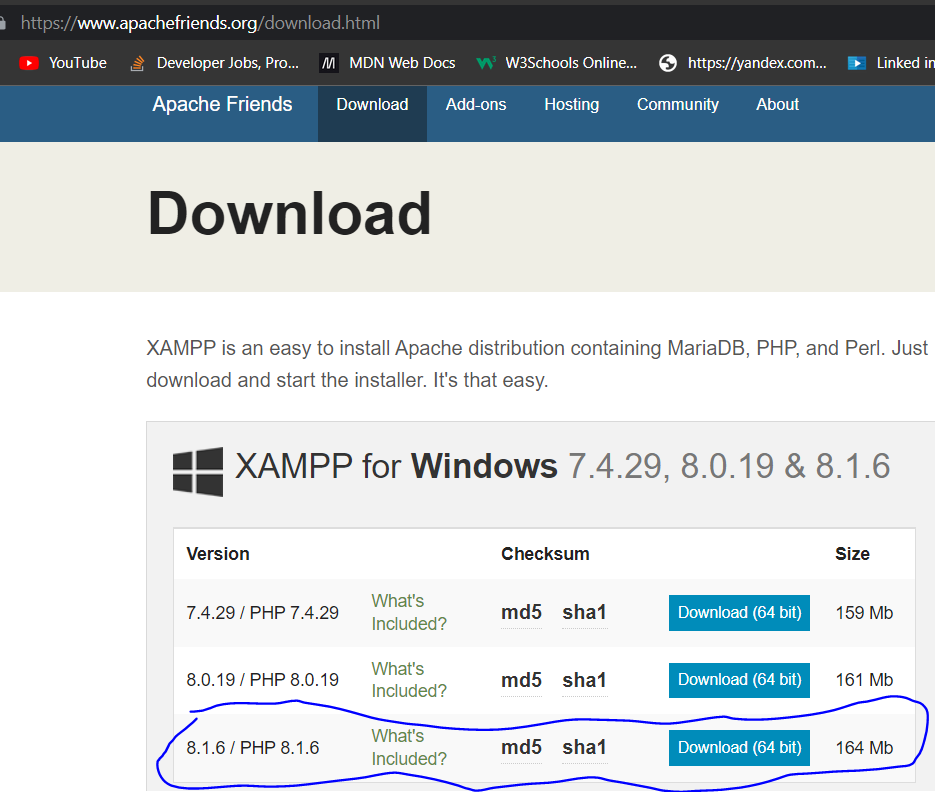
Step 1: Click here to download the latest version for Windows. See below Image 1.0
Step 2: Double click on the downloaded file to start the installation process
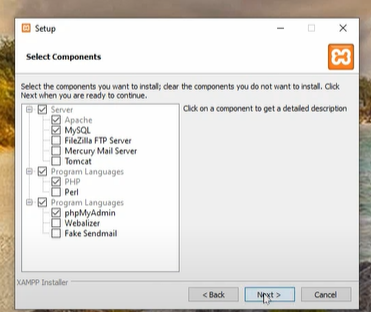
Step 3: · In the component window unselect everything except PHP and MySQL. We are doing this because we are using the local host to test WordPress only, which uses MySQL for the database and PHP to run it. See below in Image 2.0
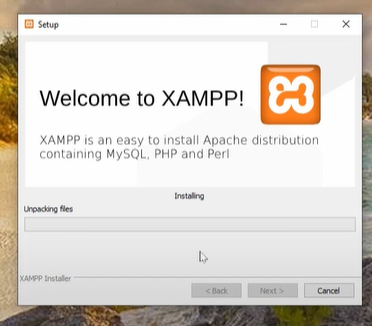
Step 4: Click next until the last window with the progress bar appears and now wait until the progress it’s over. See below image 3.0
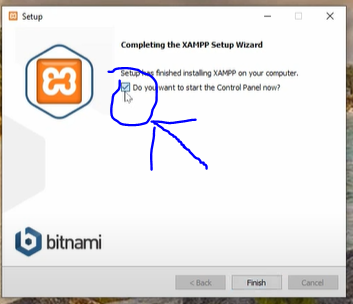
Step 5: Once the progress bar is complete click allow access on the windows security pop-up. If you want to start the control panel of the local server immediately keep the box checked and click finish. See below image 4.0
Step 6: Pick your preferred language the click save
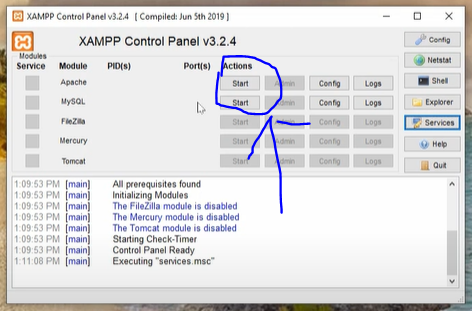
Step 7: Now you have the XAMPP control panel appear on your screen as below. At this point, we turn on the components that we need. Click start on both Apache and MySQL components as shown in image 5.0
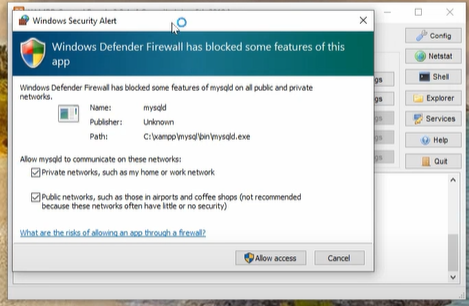
Step 8: Check the boxes on the window security pop-up and click on allow access. See below image 6.0
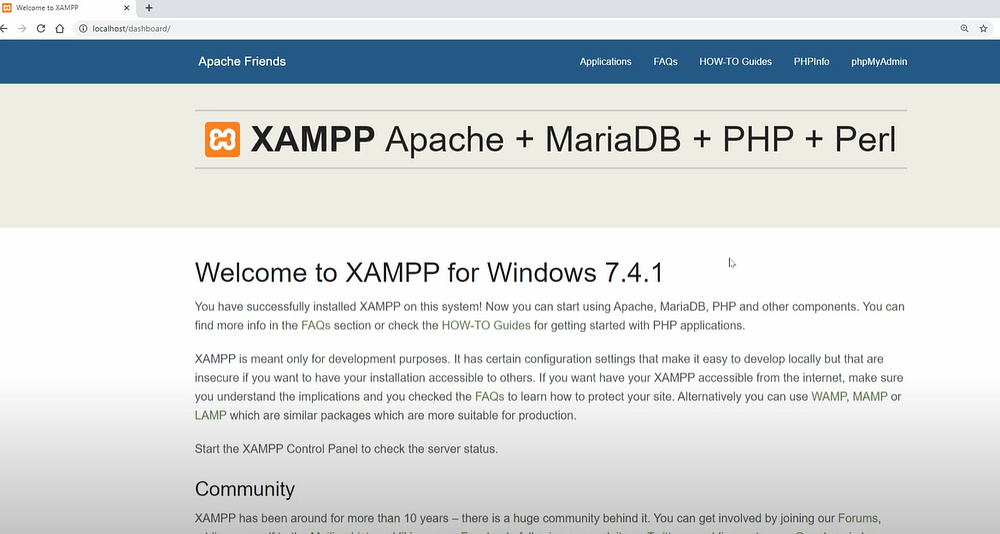
Step 9: Now we are good to go. Open your browser and type in localhost on the address bar and press enter and you will be directed to this website where you can manage the local server by XAMPP. See below image 7.0
Installing WordPress Manually on Localhost
Step 1: Click here to access wordpress.org and download the latest version. On the upper right corner click on Get WordPress. See below image 1.1.0

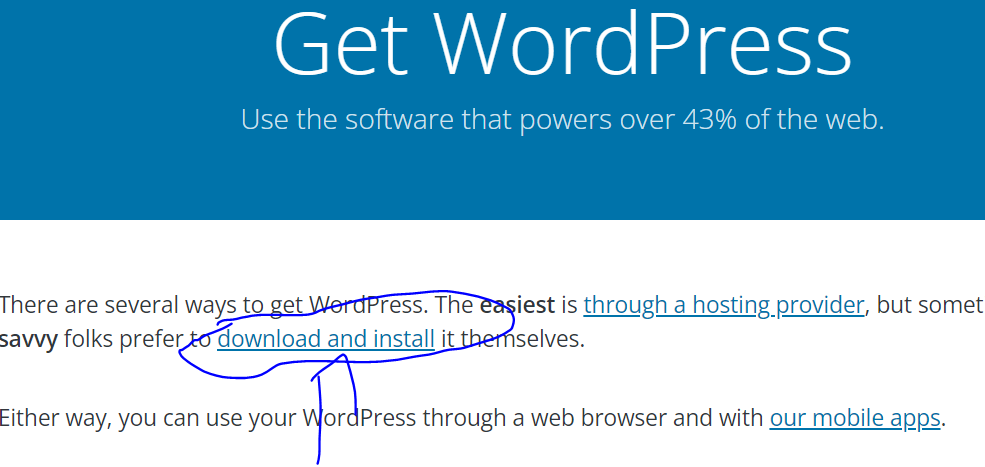
Step 2: Then click on download and install. See below image 1.1.1
Step 3: Locate the WordPress Zip file on your downloads and extract it .Right-click and select extract here.
Step 4: Now, locate your XAMPP folder, you should find it below windows on your disk files where your programs are installed or the folder which you chose when installing XAMPP. See below image 1.1.2
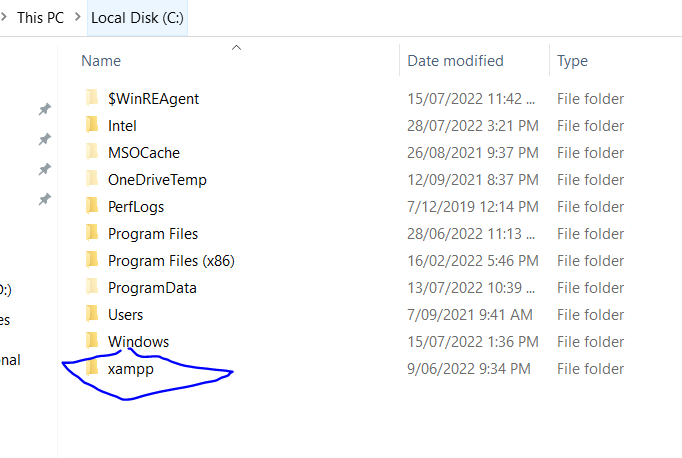
Step 5: Go back to your downloads and extracted WordPress folder, copy it, and paste it into the “htdocs” folder inside the XAMPP folder. You can as well drag and drop it.
Step 6: Change the WordPress folder name to something different. In my case, I renamed it to Demosite. See below image 1.1.3
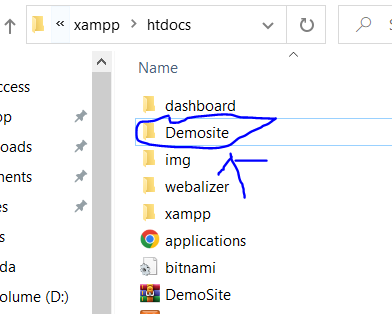
Step 7: Now close the above window and open your browser and in the address bar enter localhost followed by the name of the WordPress folder you renamed above. E.g localhost/Demosite for my case
Press enter to start downloading WordPress manually.
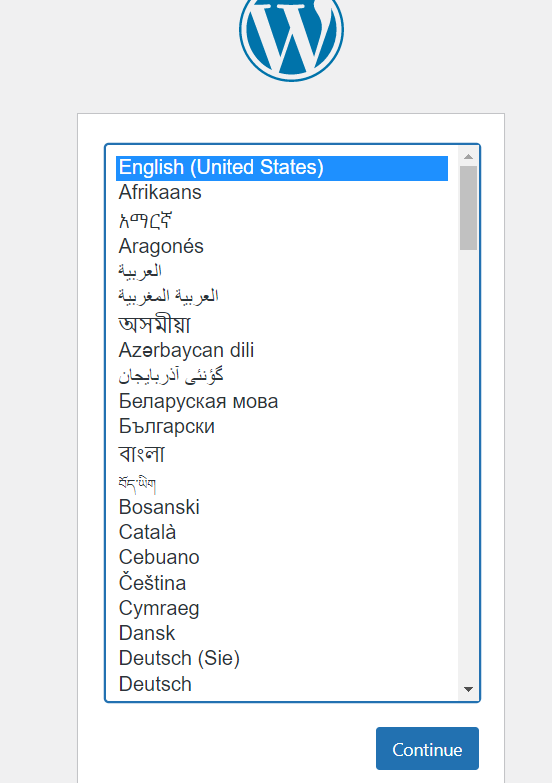
Step 8: The below setup window will pop up. Select your preferred language and click on continue and click let’s go on the next window. See image 1.1.4 below
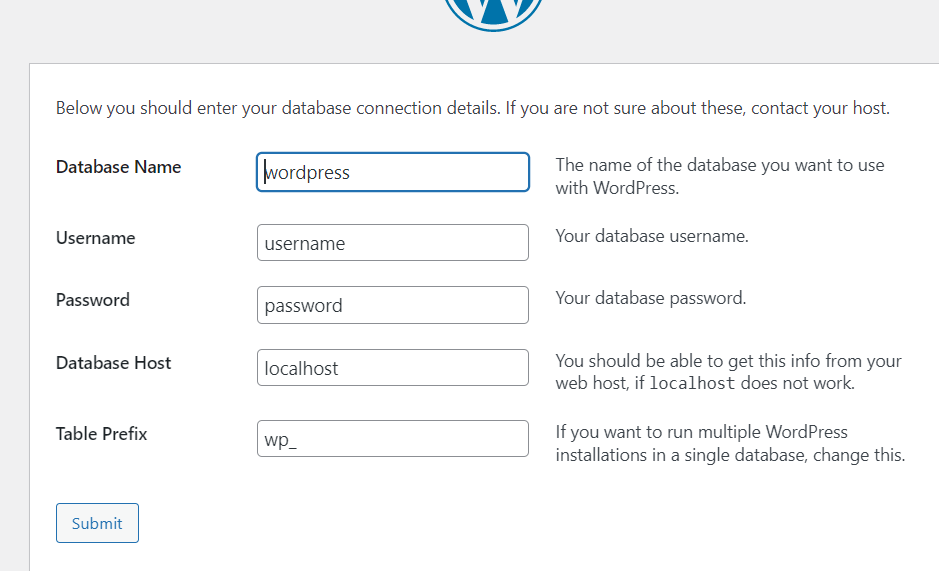
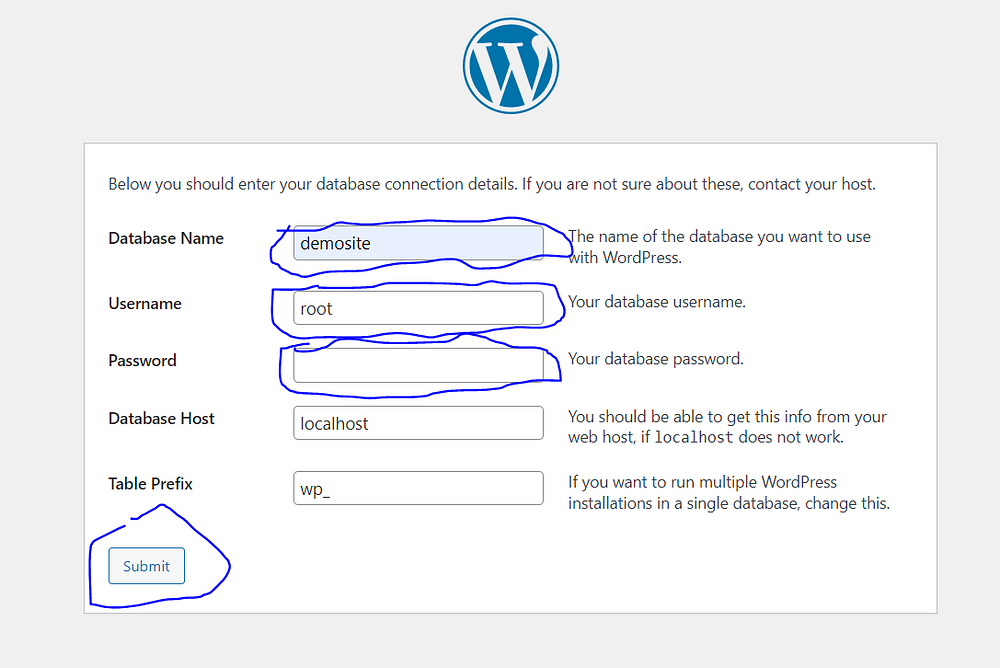
Step 9: Now you are at this window where you need to fill in the database details. See below image 1.1.5
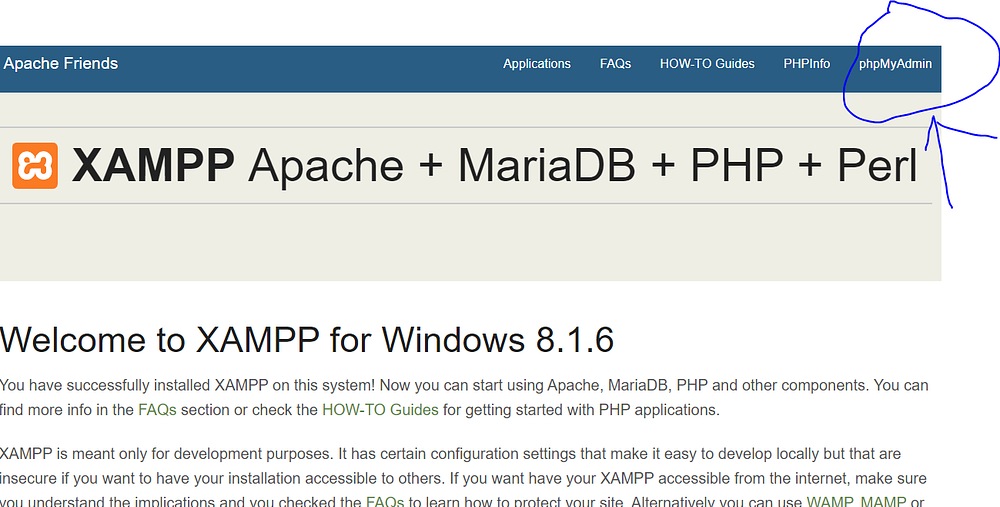
Step 10: Open a new tab in your browser so that we can create a new database and get the details to fill on the above window. In your new tab enter localhost on your browser address bar and click enter. Then access or click on the phpMyAdmin menu. See below image 1.1.6
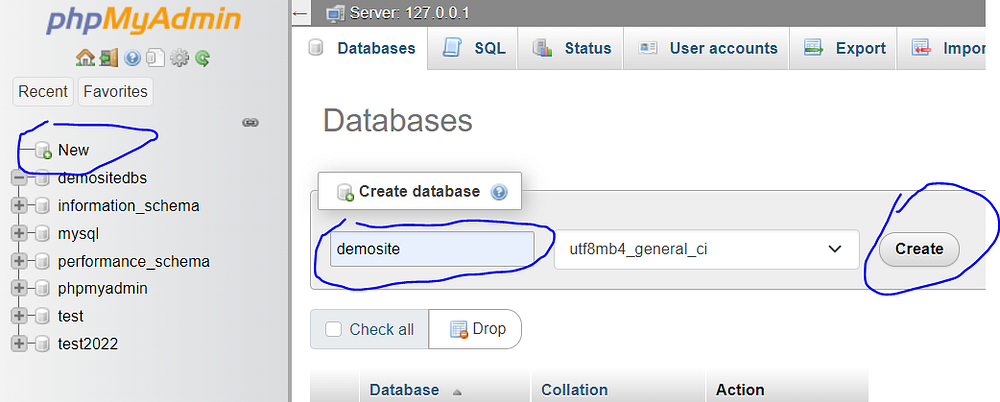
Step 11: Now click on New, enter the database name (write any name, for my case its demosite), copy the name, and click on create. See below image 1.1.7
Step 12: Now let’s go back to the installation process tab and paste our new database name in the database name field. Your username should be root and password leave it blank (make sure the field is blank). The Database Host field and Table prefix keep them as they are, do not change anything on those two fields. Then click on submit. See below image 1.1.8
Step 13: If everything went well, you should be redirected to this page as shown below in image 1.1.9. Click run the installation.
If you get an error, check back on the password field. It should be completely blank.

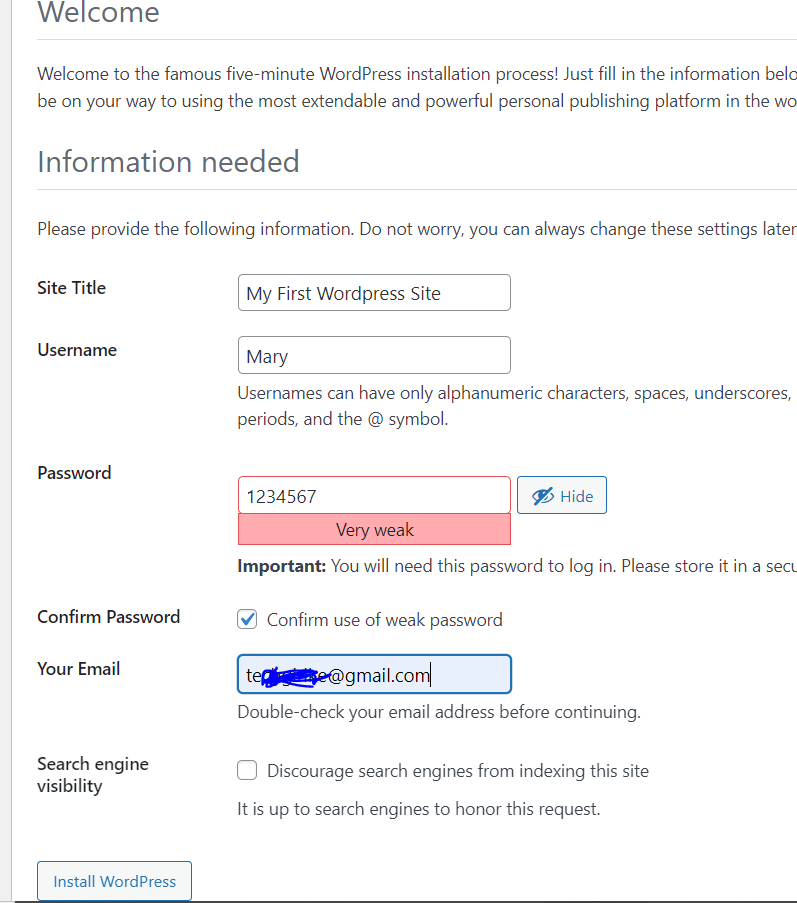
Step 14: Now you should be having the below page displayed as in image 1.2.0 below. Enter site title, username, and password and save or write them somewhere. Click on Install WordPress when you are ready! Do not worry about my exposed password since this site can only be accessed on my PC and I can always change the credentials at any time.
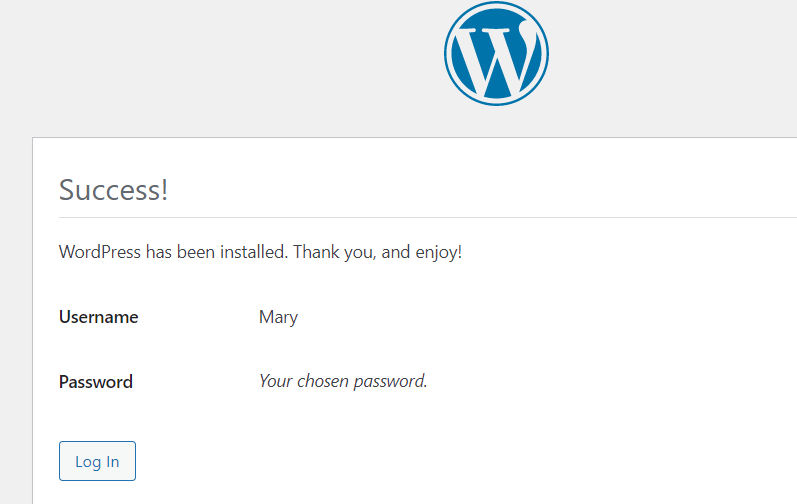
Step 15: Congratulations, you have now installed WordPress on your local machine. Click on login
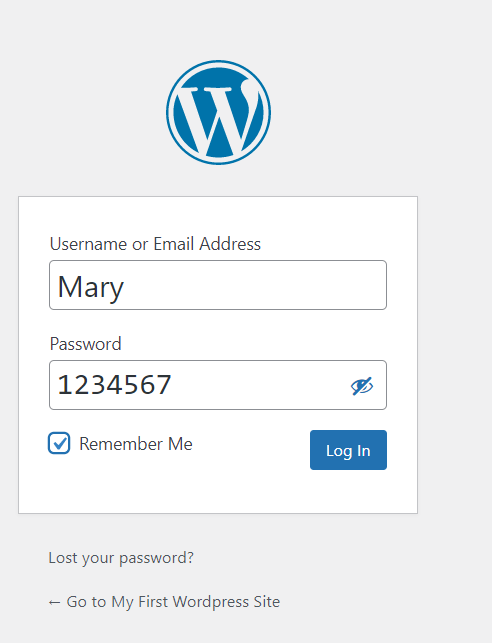
Step 16: Enter the username and password that you created
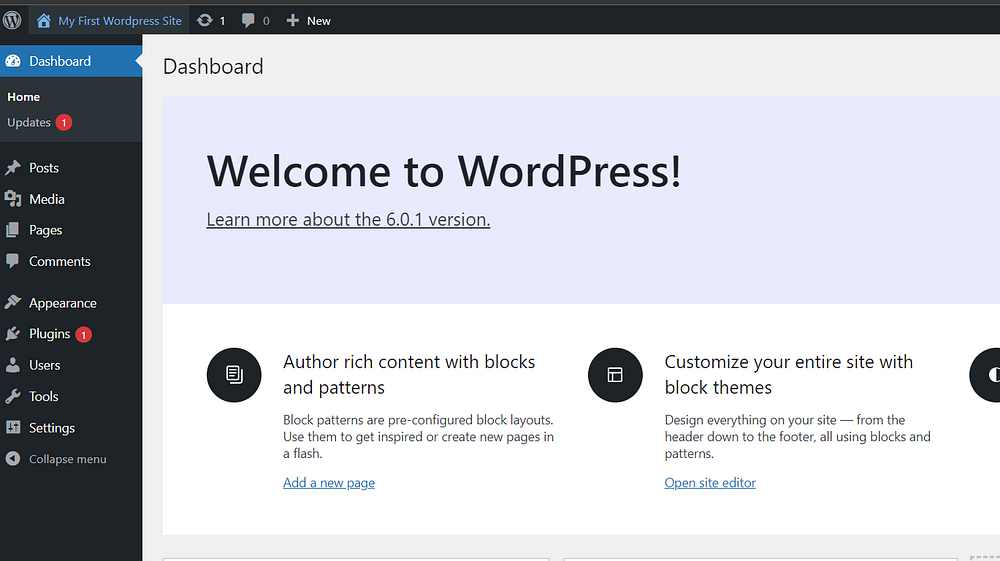
Step 17: Voila!!! You are now looking at your WordPress Dashboard. Congratulations, you can now proceed with creating your WordPress design
Thank you and feel free to leave a comment. Happy designing!!
Thank you for such a great upload.
You are much welcome