Requirements
- Node.js
- Visual Studio Code
1: Install Node.js
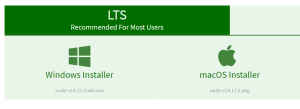
Click here to download Node.js . In the LTS section, click on windows or mac.

Setup will get downloaded according to your system requirements. Install the setup.
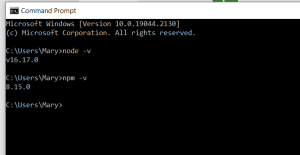
After installing node.js, open the command prompt. Type node -v and npm -v commands one by one. If node and npm are installed correctly, then these commands will return their respective version numbers.
See below example

2. Install Visual Studio Code
Visual Studio Code is a free and open-sourced code editor. Download VS code here according to your OS and system requirements. After downloading, install it. After opening, it will look below the image

3. Install create-react-app
Create empty folder in any drive.
I have created below empty folder and named it my-react-app…see the below image

Now, in the Visual Studio Code select File -> Open Folder and select the empty folder you have created, and click on Select Folder
Select the newly created folder in VS Code as shown below

Now, go to the Terminal in Visual Studio Code and click on New Terminal. Terminal window will get open below for your selected folder path.
Type command npx create-react-app my-app and hit enter. The installation will get started and it will take some time.
Note: You can give any name instead of my-app.

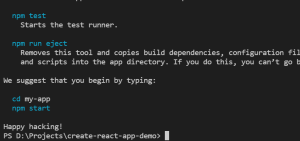
After installation is successfully completed, you will get below screen.

And that is how you set up react up on Visual studio code

